How to Install Fiberglass Insulation: A Step-by-Step Guide

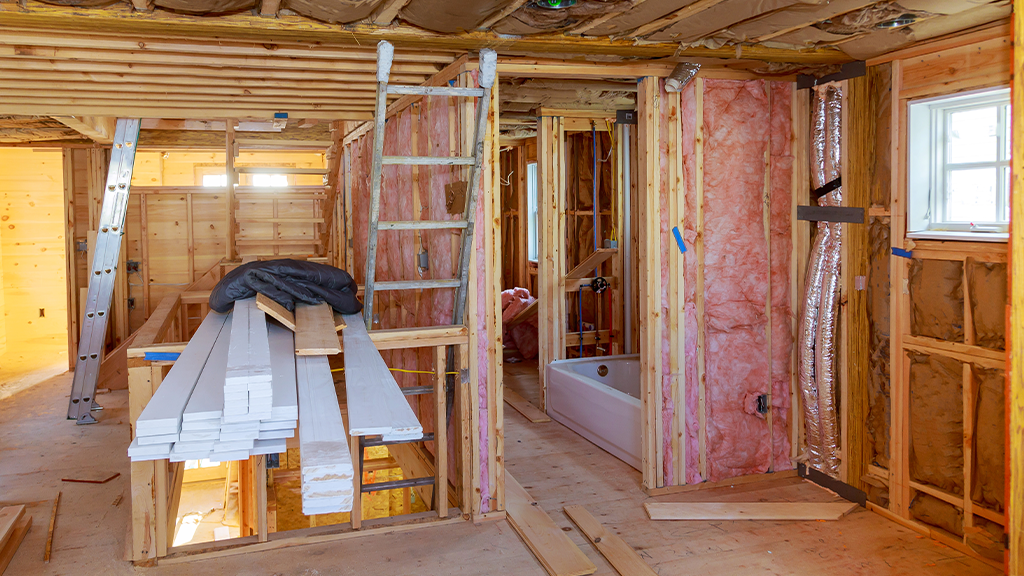
Fiberglass insulation is a popular option for insulating homes due to its affordability and effectiveness. Installing fiberglass insulation is a fairly simple process that can be done by most homeowners with a few basic tools and some patience. In this guide, we'll walk you through the steps of how to install fiberglass insulation in your home.
Step 1: Gather Your Materials
Before starting, make sure you have all the necessary materials. This includes:
- Fiberglass insulation
- Utility knife
- Measuring tape
- Safety glasses
- Dust mask
- Gloves
- Long-sleeved shirt and pants
Step 2: Measure the Space
Use your measuring tape to measure the area where you'll be installing the insulation. Be sure to measure the length, width and height of the space, as well as any areas where there are obstructions, such as pipes or ducts.
Step 3: Cut the Insulation
Using your utility knife, cut the insulation to the size of the space you just measured. It's important to make sure that the insulation fits snugly in the space without any gaps.
Step 4: Install the Insulation
Put on your safety glasses, dust mask and gloves and a long-sleeved shirt and pants to protect your skin from any irritation caused by the insulation. Start at one end of the space and press the insulation into the cavity. If the insulation is too thick, you may need to use a roller to compress it into the space.
Step 5: Repeat as Needed
Continue installing the insulation until the entire space is covered. If you come across any obstructions, use your utility knife to cut the insulation to fit around them.
Step 6: Check Your Work
Once you've finished installing the insulation, take a step back and make sure that there are no gaps or areas where the insulation is not snugly fit. If you notice any gaps, use extra insulation to fill them in.
Step 7: Clean Up
Clean up any excess insulation that may have fallen onto the floor or any other surfaces. It's important to properly dispose of any excess insulation to prevent it from becoming a fire hazard.
Here are some more tips on installing fiberglass insulation:
- Cut the insulation to size: Once you have measured the length and width of the area that needs insulation, cut the fiberglass insulation batts to the correct size. You can use a utility knife or a pair of scissors to cut the insulation. Be sure to wear gloves, long sleeves and pants to protect your skin from the insulation fibers.
- Install the insulation: Start by placing the insulation into the wall cavity or attic space. Be sure to push the insulation into the cavity and ensure that it is snug against the studs or joists. If necessary, use a staple gun to attach the insulation to the studs or joists.
- Fill gaps and seams: If there are any gaps or seams in the insulation, use a smaller piece of insulation to fill the gaps. Be sure to push the insulation firmly into the gaps and seams to create a tight seal.
- Cover with a vapor barrier: Once the insulation is installed, cover it with a vapor barrier. This will help to prevent moisture from getting into the insulation and causing mold or mildew. You can use plastic sheeting or a special vapor barrier product designed for insulation.
- Seal around fixtures: If there are any fixtures or vents in the wall or attic space, be sure to seal around them with caulk or spray foam insulation. This will help to prevent air leaks and maintain the insulation's effectiveness.
- Dispose of waste properly: Once you have finished installing the insulation, be sure to dispose of any waste properly. Fiberglass insulation can be hazardous to your health if it is inhaled or ingested. Place any leftover insulation in a trash bag and seal it tightly before disposing of it.
By following these steps, you can install fiberglass insulation in your home and improve your energy efficiency. However, if you are unsure about installing insulation or have any questions, it is always best to consult a professional insulation installer.

 Rated Excellent